

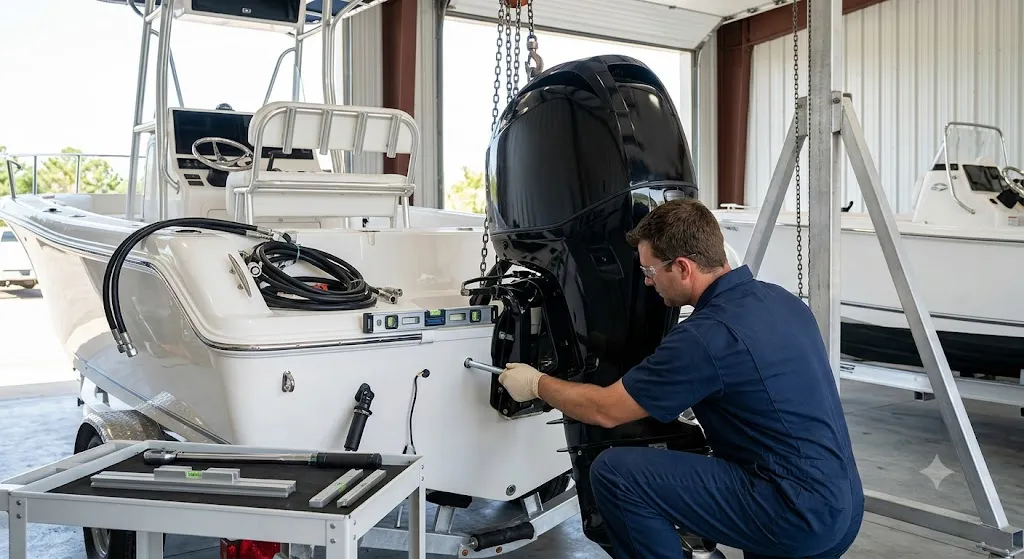
Even the finest engine performs poorly if it is installed badly. Mounting height, cable routing, and control setup all shape how a boat feels on the water. If you are about to install one of the new outboard motors for sale that you have chosen, this overview covers the essentials, so your rigging goes smoothly and safely.
Confirm Your Transom Is Ready
Inspect the transom for soft spots, cracks, or signs of water damage. A weak transom cannot safely carry the weight and thrust of an engine, and repairing it later is difficult and expensive. Take your time, since rushing a mounting job is how problems begin. A strong foundation makes the rest of the installation easier.
Check the transom height too. Measure carefully, and choose the correct shaft length before purchase. This one measurement affects performance, water flow to the cooling system, and the life of the lower unit.
Mounting Height Makes a Difference
The engine’s cavitation plate should sit roughly level with the bottom of the hull, or slightly above it. Too low causes drag, while too high allows the propeller to suck air and lose bite. Do not rely on memory when the manual provides exact figures.
Small height changes can transform performance, so many owners test a few positions on the water. Mark each setting, and record speed and RPM. Real results guide you better than guesswork. Write the final height on the transom for easy reference.
Secure Bolts and Sealing
Use quality stainless hardware and a marine sealant on every bolt hole passing through the transom. Properly sealed holes keep water out of the core, preventing rot that can quietly destroy a boat. A drop of care at this stage prevents years of trouble.
Tighten bolts evenly, and recheck them after the first few trips. Vibration can loosen fasteners slightly, and catching that early prevents a nasty surprise as you accelerate away from the dock. Slow, careful work produces results you can trust.
Control Cables and Steering
Route cables with gentle curves, avoiding sharp bends that increase friction. Make sure steering moves freely lock to lock, and that throttle and shift controls operate crisply without sticking or slack. Neat routing also makes future repairs faster and cheaper.
Label cables during installation, and secure them with clips. A tidy rig is easier to service later, and it prevents chafing against edges that could wear through insulation or housing. Neat work here also helps when a technician must trace a fault.
Electrical and Fuel Connections
Use properly sized battery cables with clean, tight terminals and an accessible shutoff switch. Poor connections cause voltage drops that make starting difficult and can damage sensitive electronics. A hidden fuel leak or loose terminal is the last thing you want to find late.
Check fuel line connectors and the tank vent. A correct, leak-free fuel path is essential for both performance and safety. Never compromise on hoses or clamps rated for marine fuel. Fuel safety is a habit worth building from the very first day.
Which Engine Suits Your Rigging
Compatibility matters when matching an engine to existing controls. A Mercury outboard may use specific control harnesses or gauge connections, so verify what your boat already has before ordering any parts. Fit questions deserve answers well before the boxes arrive.
Ask the seller about compatible accessories and any needed adapters. Settling these questions beforehand saves a second trip to the store and prevents delays on the very weekend you planned to launch.
Safety Checks Before the First Launch
Verify that the kill switch, horn, navigation lights, and bilge pump all work with the engine installed. Confirm that the fuel system has no smell of gasoline in the bilge before any trip. Do not skip this stage, no matter how excited you are.
Ask a friend or dealer to double-check the installation. A second pair of eyes often spots a loose clamp or a missing cotter pin that you might overlook after hours of focused work.
Conclusion
With everything installed, run the engine in a test tank or with proper flushing muffs. Check for leaks, unusual sounds, and steady cooling flow. Confirm that steering and shifting work in every position.
Then take a short, careful trial run. Watch the gauges, feel the handling, and note anything odd. Fixing small details now builds a boat you can trust completely when the family is aboard.
